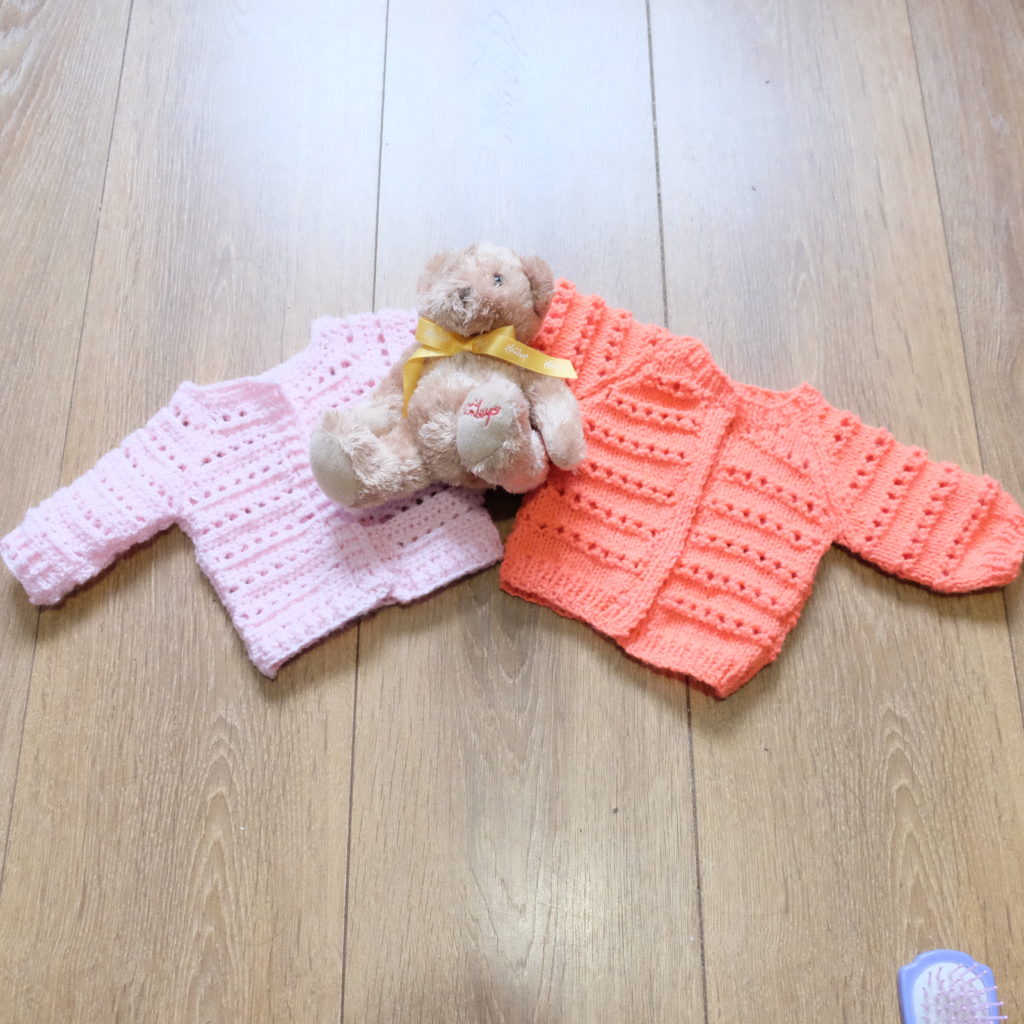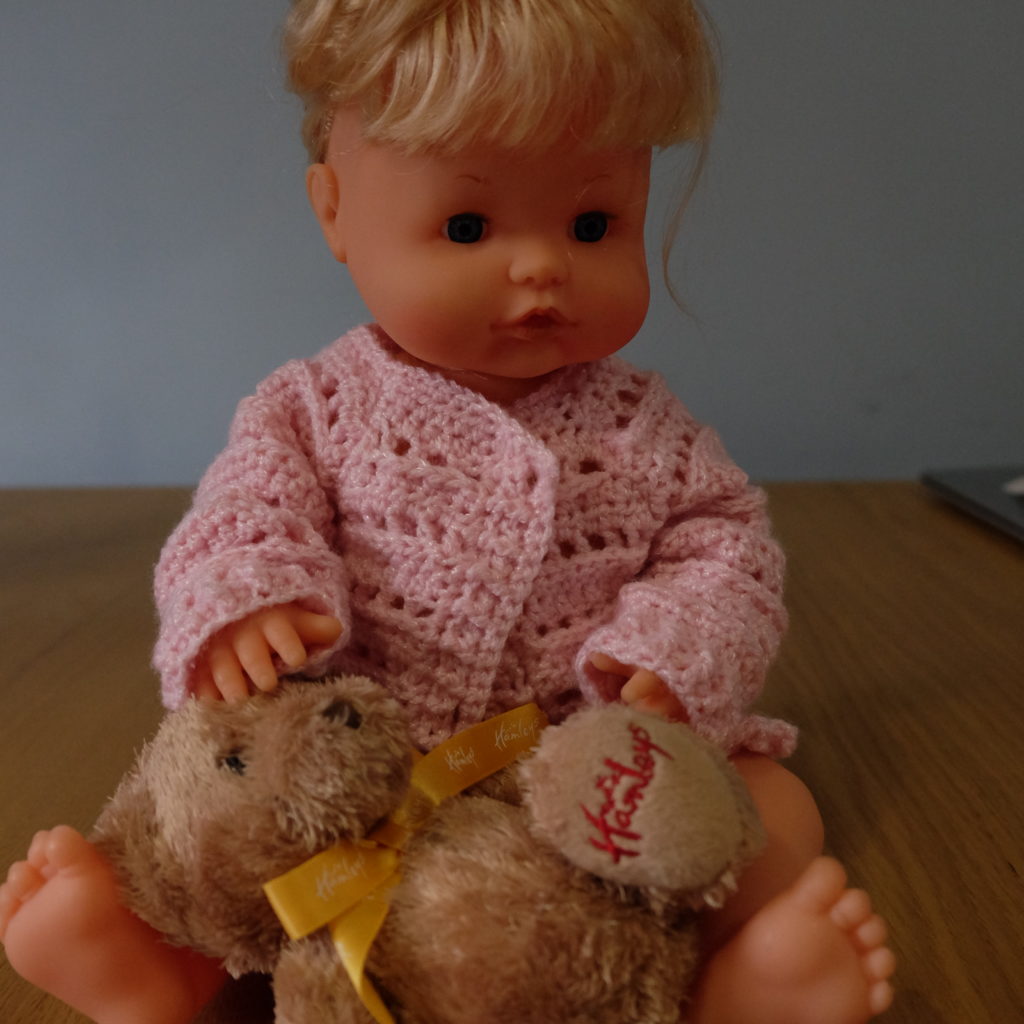
This year we are getting our youngest daughter a baby doll for Christmas and I was shocked at how expensive it is to buy them. I looked online for some doll’s clothes crochet patterns and found myself going round in circles trying to find something that was right. Then I remembered that my mum had several knitting pattern books for doll’s clothes. So, along with knitting the clothes, I thought I would use some of them as inspiration for some crochet garments. This particular pattern was inspired by one in a knitting pattern book by Littlewoods from the 90s called Dolly Daydream.

This is my first attempt at writing a pattern, so feel free to message me with any suggestions for improvement.
You will need:
DK Yarn – I used around half of a 100g ball
3.5mm hook
4mm hook
Abbreviations:
(all terms are UK useage)
ch= chain
Htr = half treble
Tr = treble
Sl-st = slip stitch
Sk = skip
Fphtr = front post half treble – a half treble worked around the post of the stitch in the row below to the front of the work
Bphtr = back post half treble – a half treble worked around the post of the stitch in the row below to the back of the work
Fptr = front post treble – a treble worked around the post of the stitch in the row below to the front of the work
Bptr – back post treble – a treble worked around the post of the stitch in the row below to the back of the work
Back
1st 3 rows will be the ribbing at the bottom of the garment
Using 3.5mm hook, ch 35
1 – Htr in 3rd ch from hook, htr to end (33sts)
2 – Ch1 (this does not count as a st here and throughout) htr in 1st st, *fphtr, bphtr*. Repeat * to the last st, htr in last st. (33sts)
3 – Ch1, htr in 1st st, *bphtr, fphtr*. Repeat * to the last st, htr in the last st. (33sts)
Change to 4mm hook
4 & 5 Ch1, htr to end. (33sts)
6 – Ch2, tr in 1st st, ch1, sk1 st, (fptr around next st, ch1, sk1 st) 15 times, tr in last st. (17 tr, 16 ch1 sp)
Rows 4 – 6 form the pattern repeat for this pattern working row 6 as either fptr or bptr so that the ridge formed by the stitch is always on the right side of the piece. The first row of htr after the pattern row is to be worked into each st and ch1 sp.
7 – 15 Repeat rows 4-6 three more times.
16 & 17 Repeat rows 4 & 5. (33sts)
Raglan armhole
18 – Sl-st into the second st, ch2 and tr into the same st, ch1, sk1, (fptr, ch1, sk1) 14 times, tr in st leaving one st unworked at the end of the row. (16tr, 15 ch1 sp)
19 – Sl-st into the first ch1 sp, ch1 and htr into the same sp, 28 x htr in each ch1 sp and stitch finishing one st from the end (29sts)
20 – Sl-st into the 2nd st, ch1 and htr into the same st, 26 x htr in each st finishing one st from the end (27sts)
21 – Sl-st into the second st, ch2 and tr in same st, ch1, sk1, (fptr, ch1, sk1) 11 times to the second from last st, tr in st leaving one st unworked at the end of the row. (13 tr, 12 ch1 sp)
22 – 24 – Repeat rows 19 – 21 once. At the end of row 21 you should have 10 trebles and 9 ch1 spaces.
25 & 26 Repeat rows 19 – 20. Fasten off (15sts)
Sleeves (Make 2)
Using 3.5mm hook, ch 25
1 – Htr in 3rd ch from hook, htr to end (23)
2 & 3 – Work 2 rows in rib as first two rows of back
Change to 4mm hook
4 – ch1 (does not count as stitch), htr to end (23)
5 – ch1, htr in first st, 6 x htr, 2htr in next st, 2 x htr, 2htr in next st, 3 x htr, 2htr in next st, 6 x htr, 2htr in next st, htr in last st (27)
6 – Ch2, tr in first st, ch1, sk1, (fptr, ch1, sk1) 12 times, tr in last st (14tr, 13 ch1 sp)
7 & 8 – ch1, htr in first st, htr to end (27)
9 – 14 – Repeat rows 6 – 8 twice more remembering to alternate between fptr and bptr to keep the ridge on the right side (27)
15 – Repeat row 6
16 – Sl-st into first ch sp, ch1, htr in same sp, 24 x htr, leaving last st unworked (25)
17 – Sl-st into second st, ch1, htr in same st, 22 x htr leaving last st unworked (23)
18 – Sl-st into second st, ch2, tr in same st, ch1, sk1, (bptr, ch1, sk1) 9 times, tr after skipped st leaving 1 st unworked.
19 – Sl-st into first ch sp, ch1, htr in same sp, 18 x htr leaving last st unworked (19)
20 – Sl-st into second st, ch1 and htr in same st, 16 x htr leaving last st unworked (17)
21 – Sl-st into second st, ch2 and tr in same st, ch1, sk1, (fptr, ch1, sk1) 6 times, tr after skipped st, leaving 1 st unworked
22 – 2 x sl-st and working into the second tr, ch1 and htr into same st, 10 x htr leaving last 2 sts unworked (11)
23 – 2 x sl-st and working into third st, ch1 and htr in same st, 6 x htr leaving 2 sts unworked (7)
Fasten off
Left Front
Using 3.5mm hook, ch 17
1 – Htr into 3rd ch from hook, and htr to end (15)
2 & 3 – Work in rib as for back
Change to 4mm hook
4 & 5 – ch1, htr in first st, 14 x htr (15)
6 – Ch2, tr in first st, ch1, sk1 (fptr, ch1, sk1) 6 times, tr in last st
7 – 15 – Repeat rows 4 – 6 three more times remembering to alternate between fptr and bptr to keep the ridge at the front of the work.
16 & 17 – ch1, htr in first st, 14 x htr (15) **
18 – Ch2, tr in first st, ch1, sk1, (fptr, ch1, sk1) 5 times, fptr, tr in next st leaving last st unworked.
19 – Sl-st into second tr, ch1, htr in same st, 12 x htr (13)
20 – Ch1, htr in first st, 11 x htr leaving last st unworked (12)
21 – Sl-st into second st, ch2 and tr in same st, ch1, sk1, (fptr, ch1, sk1) 4 times, 2 x tr.
22 – Ch1, htr in same st, htr x 10 leaving last st unworked (11)
23 – Ch2, tr in first st, ch1, sk1, (fptr, ch1, sk1) 3 times, tr in st after last skipped st leaving one stitch unworked
24 – Sl-st into ch1 sp, ch1, htr in same sp, htr x 8 (9)
25 – Ch1, htr in first st, htr x 6 (7)
Fasten Off
Right Front
Work right front the same as the left up to **
Continue as follows:
18 – Sl-st into second st, ch2, tr in same st, ch1, sk1, (fptr, ch1, sk1) 5 times, fptr, tr in last st.
19 – Ch1, htr in same st, htr x 12, leaving last st unworked (13)
20 – Sl-st into second st, ch1, htr in same st, htr x 11 (12)
21 – Ch2, tr in same st, ch1, sk1, (bptr, ch1, sk1) 4 times, tr in st after skipped st leaving one st unworked
22 – Sl-st into ch-sp, ch1, htr in same sp, htr x 9 (10)
23 – Ch1, htr in same sp, htr x 8 (9)
24 – Sl-st into second st, ch2, tr in same st, ch1, sk1, (fptr, ch1, sk1) twice, fptr, tr in last st
25 – Ch1, htr in same st, htr x 6 (7)
Making Up
Sew raglan seams together.
Buttonhole band
Join yarn at bottom edge of the right side with right side facing.
1 – Ch1, dc 34 stitches evenly along the edge stopping at the neck edge.
2 – Ch1, htr in first st, bphtr, fptr, to last st, htr in last st this forms the pattern for the ribbing
3 – Ch1, htr in first st, Rib 2 sts, ch1, sk1, Rib 13, ch1, sk1, Rib 13, ch1, sk1, Rib 1, htr in last st
4 – Ch1, dc across all 34 sts
Fasten Off
Button Band
1 – Join at the neck edge of the left side with right side facing and dc 34 sts evenly along edge
2 & 3 – Ch1, Rib across all sts both rows
4 – Ch1, dc across all sts
Fasten Off
Neck band
Join yarn at the top of the buttonhole band
Ch1, dc 63 sts evenly along the neck edge to the top of the button band.
Fasten Off
Sew side and sleeve seams together and weave in ends. Add buttons to line up with buttonholes and sew on.

And its finished! I hope you enjoyed following my first ever pattern and will come back to tryout my future patterns planned for my little girl’s dollys.
